Quick start#
Installation#
Homebrew is the recommended install path on macOS and Linux:
brew tap jezdez/conda-express https://github.com/jezdez/conda-express
brew install jezdez/conda-express/cx
Update later with brew upgrade cx.
The shell script downloads the right binary for your platform, verifies its
checksum, updates your shell profile / PATH, and runs cx info. That first
conda command automatically bootstraps the managed prefix.
macOS / Linux:
curl -fsSL https://jezdez.github.io/conda-express/get-cx.sh | sh
Windows (PowerShell):
powershell -ExecutionPolicy ByPass -c "irm https://jezdez.github.io/conda-express/get-cx.ps1 | iex"
Script options
All options work as environment variables on both platforms:
Variable |
Default |
Description |
|---|---|---|
|
|
Where to place the |
|
|
Version to install (without |
|
(unset) |
Set to skip shell profile / PATH modification |
|
(unset) |
Set to skip the installer’s eager bootstrap command |
|
(unset) |
Set to skip checksum verification |
|
|
Managed prefix used by automatic bootstrap |
|
(unset) |
Bundle directory used during automatic bootstrap |
|
(unset) |
Set to force offline bootstrap |
CX_VERSION uses conda-express release versions, which follow the conda
runtime version in the lock. For example, 26.7.2
installs a cx release that bootstraps conda 26.7.2.
Unix example:
curl -fsSL https://jezdez.github.io/conda-express/get-cx.sh | env CX_VERSION=26.7.2 sh
PowerShell example:
$Env:CX_VERSION = "26.7.2"; irm https://jezdez.github.io/conda-express/get-cx.ps1 | iex
Download the binary for your platform from the latest release:
Platform |
cx (7-11 MB) |
cxz (50-95 MB) |
|---|---|---|
Linux x86_64 |
|
|
Linux ARM64 |
|
|
macOS x86_64 (Intel) |
|
|
macOS ARM64 (Apple Silicon) |
|
|
Windows x86_64 |
|
|
Windows ARM64 is not published for conda-express yet. conda-ship has Windows ARM64 builder assets, but full runtime bootstrap support still depends on the conda package ecosystem.
Each runtime has matching .sha256, .info.json, .packages.txt,
.runtime.lock, and CycloneDX .cdx.json metadata. Direct downloads are also
covered by GitHub Artifact Attestations from the release workflow. For a quick
attestation check:
gh attestation verify ./cx-x86_64-unknown-linux-gnu \
  -R jezdez/conda-express \
  --signer-workflow jezdez/conda-express/.github/workflows/release.yml
See Verify Release Artifacts for checksum, metadata, lockfile, and air-gapped transfer checks.
cxz is the self-contained variant with the locked package archives embedded. See
Offline and Air-Gapped Installs for details.
After downloading, make it executable and move it to your PATH:
chmod +x cx-x86_64-unknown-linux-gnu
sudo mv cx-x86_64-unknown-linux-gnu /usr/local/bin/cx
A multi-arch image is published to GHCR:
docker run --rm -v cx-data:/home/nonroot/.conda/express ghcr.io/jezdez/conda-express info
Works on Linux, macOS, and Windows via Docker Desktop. The image runs as non-root (uid 65532), includes provenance attestations and SBOMs, and can run with a read-only root filesystem when the managed prefix is mounted as a writable volume.
docker run --rm --read-only --tmpfs /tmp \
  -v cx-data:/home/nonroot/.conda/express \
  ghcr.io/jezdez/conda-express info
docker run --rm -v cx-data:/home/nonroot/.conda/express ghcr.io/jezdez/conda-express create -n myenv python=3.12
A pre-bootstrapped cxz image is also available — conda is already installed,
no bootstrap step needed:
docker run --rm ghcr.io/jezdez/conda-express:latest-cxz create -n myenv python=3.12
pip install conda-express
The PyPI package installs the cx release binary built with conda-ship for
your platform.
Run the first conda command#
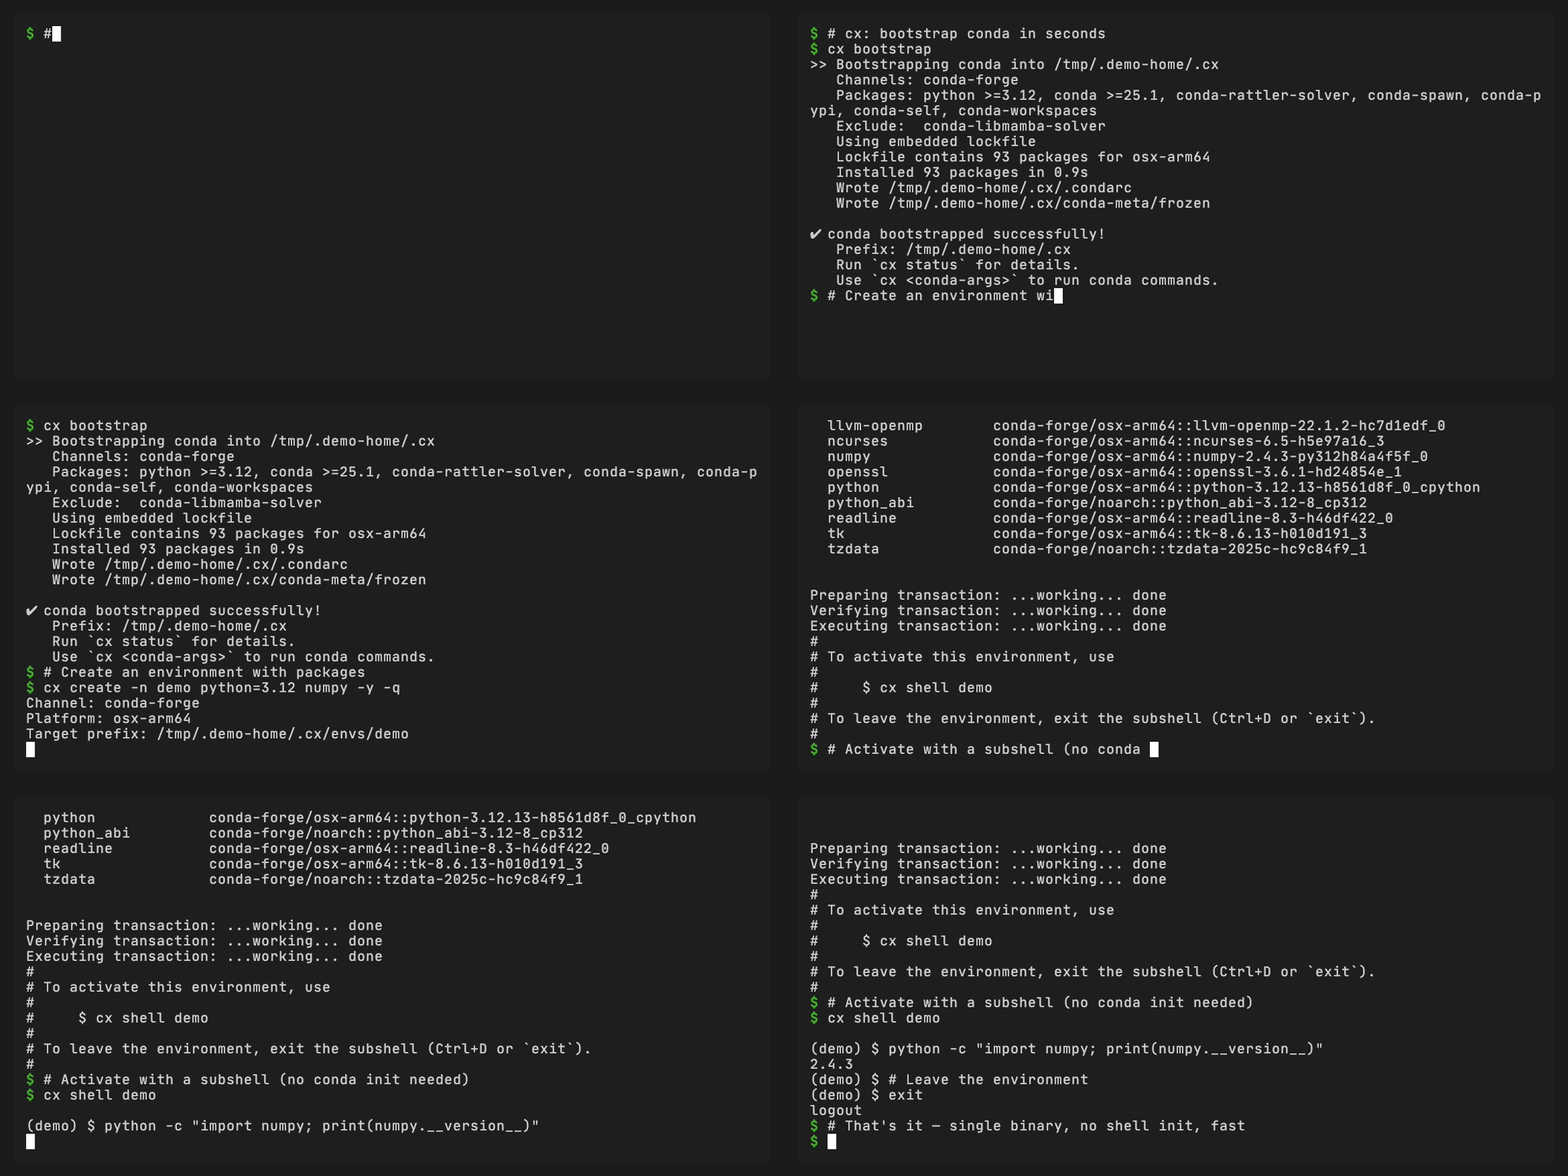
If you used the installer script, it already ran cx info. Otherwise, run any
conda command to create the prefix and continue into conda:
cx info
The automatic bootstrap uses the built-in runtime lock, so it does not solve
an environment at runtime. The prefix is protected with a
CEP 22 frozen marker to prevent
accidental modification. Bootstrap also writes conda-meta/history and
conda-meta/initial-state.explicit.txt, so conda recognizes the managed
prefix as an environment and conda-self can reset it to the package set that
created that prefix.
Set up your PATH#
This step is optional. Add the managed condabin directory to your shell
profile only if you want to run the bootstrapped conda executable directly:
export PATH="$HOME/.conda/express/condabin:$PATH"
Create an environment#
cx create -n myenv python=3.12 numpy pandas
Activate an environment#
cx uses conda-spawn
instead of traditional conda activate. This spawns a new subshell with the
environment activated — no conda init or shell profile modifications needed:
cx spawn myenv
To leave the environment, exit the subshell:
exit # or Ctrl+D
Use conda commands#
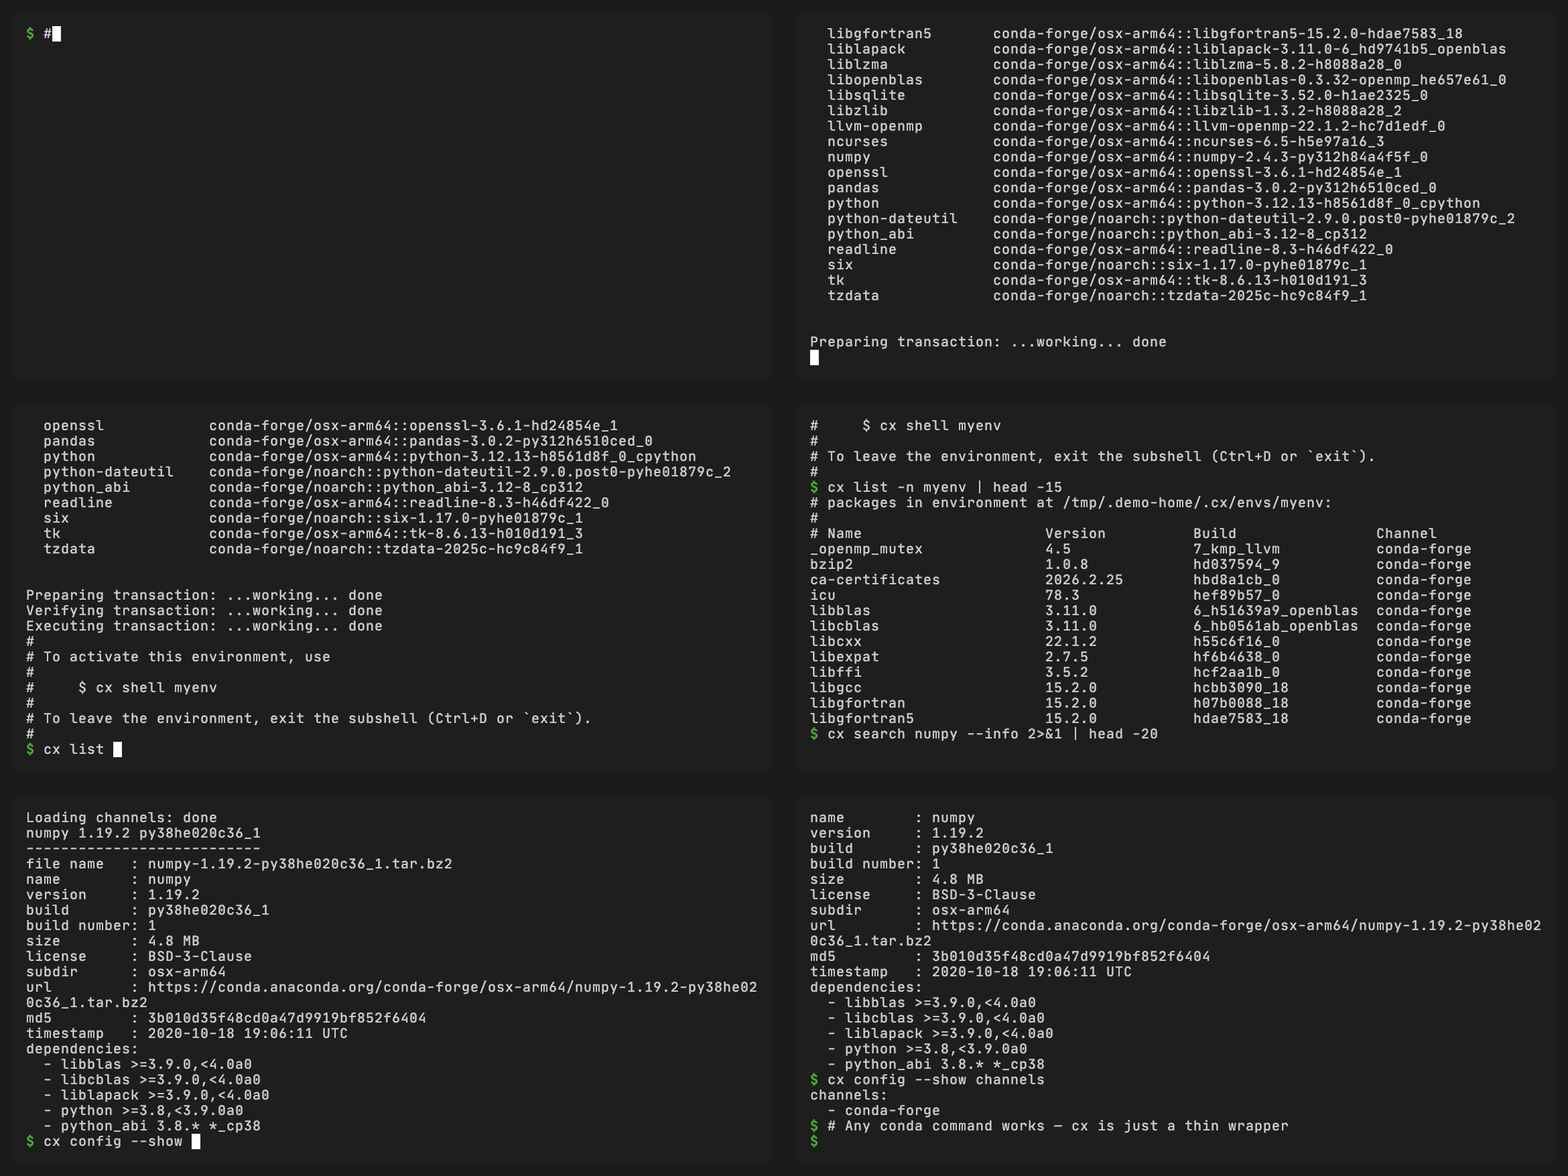
Ordinary conda commands can be run through cx:
cx install -n myenv scipy matplotlib
cx list -n myenv
cx remove -n myenv scipy
cx env list
Auto-bootstrap#
Every conda command can be the first command. cx bootstraps on first use:
# This bootstraps ~/.conda/express automatically, then runs `conda create`
cx create -n myenv python=3.12
Updating#
If you used an early cx release that bootstrapped into ~/.cx, read
Upgrade From Early cx Versions before removing old files. Current releases
bootstrap into ~/.conda/express.
Update the cx binary through the same method that installed it, such as
brew upgrade cx or python -m pip install --upgrade conda-express.
To reset the existing managed base prefix, use the conda-self snapshot that
was written when that prefix was first bootstrapped:
cx self reset --snapshot installer-exact
Reset restores the snapshot already stored in the prefix. It does not apply
the stamped runtime lock from a newer cx binary. To use a newly stamped lock,
export any named environments you need, remove the managed prefix, and run any
cx command to bootstrap it again.
Uninstalling#
Remove the binary through the same method that installed it. Use
brew uninstall cx for Homebrew or
python -m pip uninstall conda-express for PyPI. For a standalone script
installation, delete the binary and remove the PATH entry added by the script.
These methods leave ~/.conda/express and its named environments in place.
Export anything you need before deleting that directory manually. There is no
cx uninstall command until conda-self gains a conda-express adapter.